Your Cart is Empty
-
- HOLSTERS for 1911
- HOLSTERS for BERETTA
- HOLSTERS for BERSA
- HOLSTERS for BROWNING
- HOLSTERS for CANIK
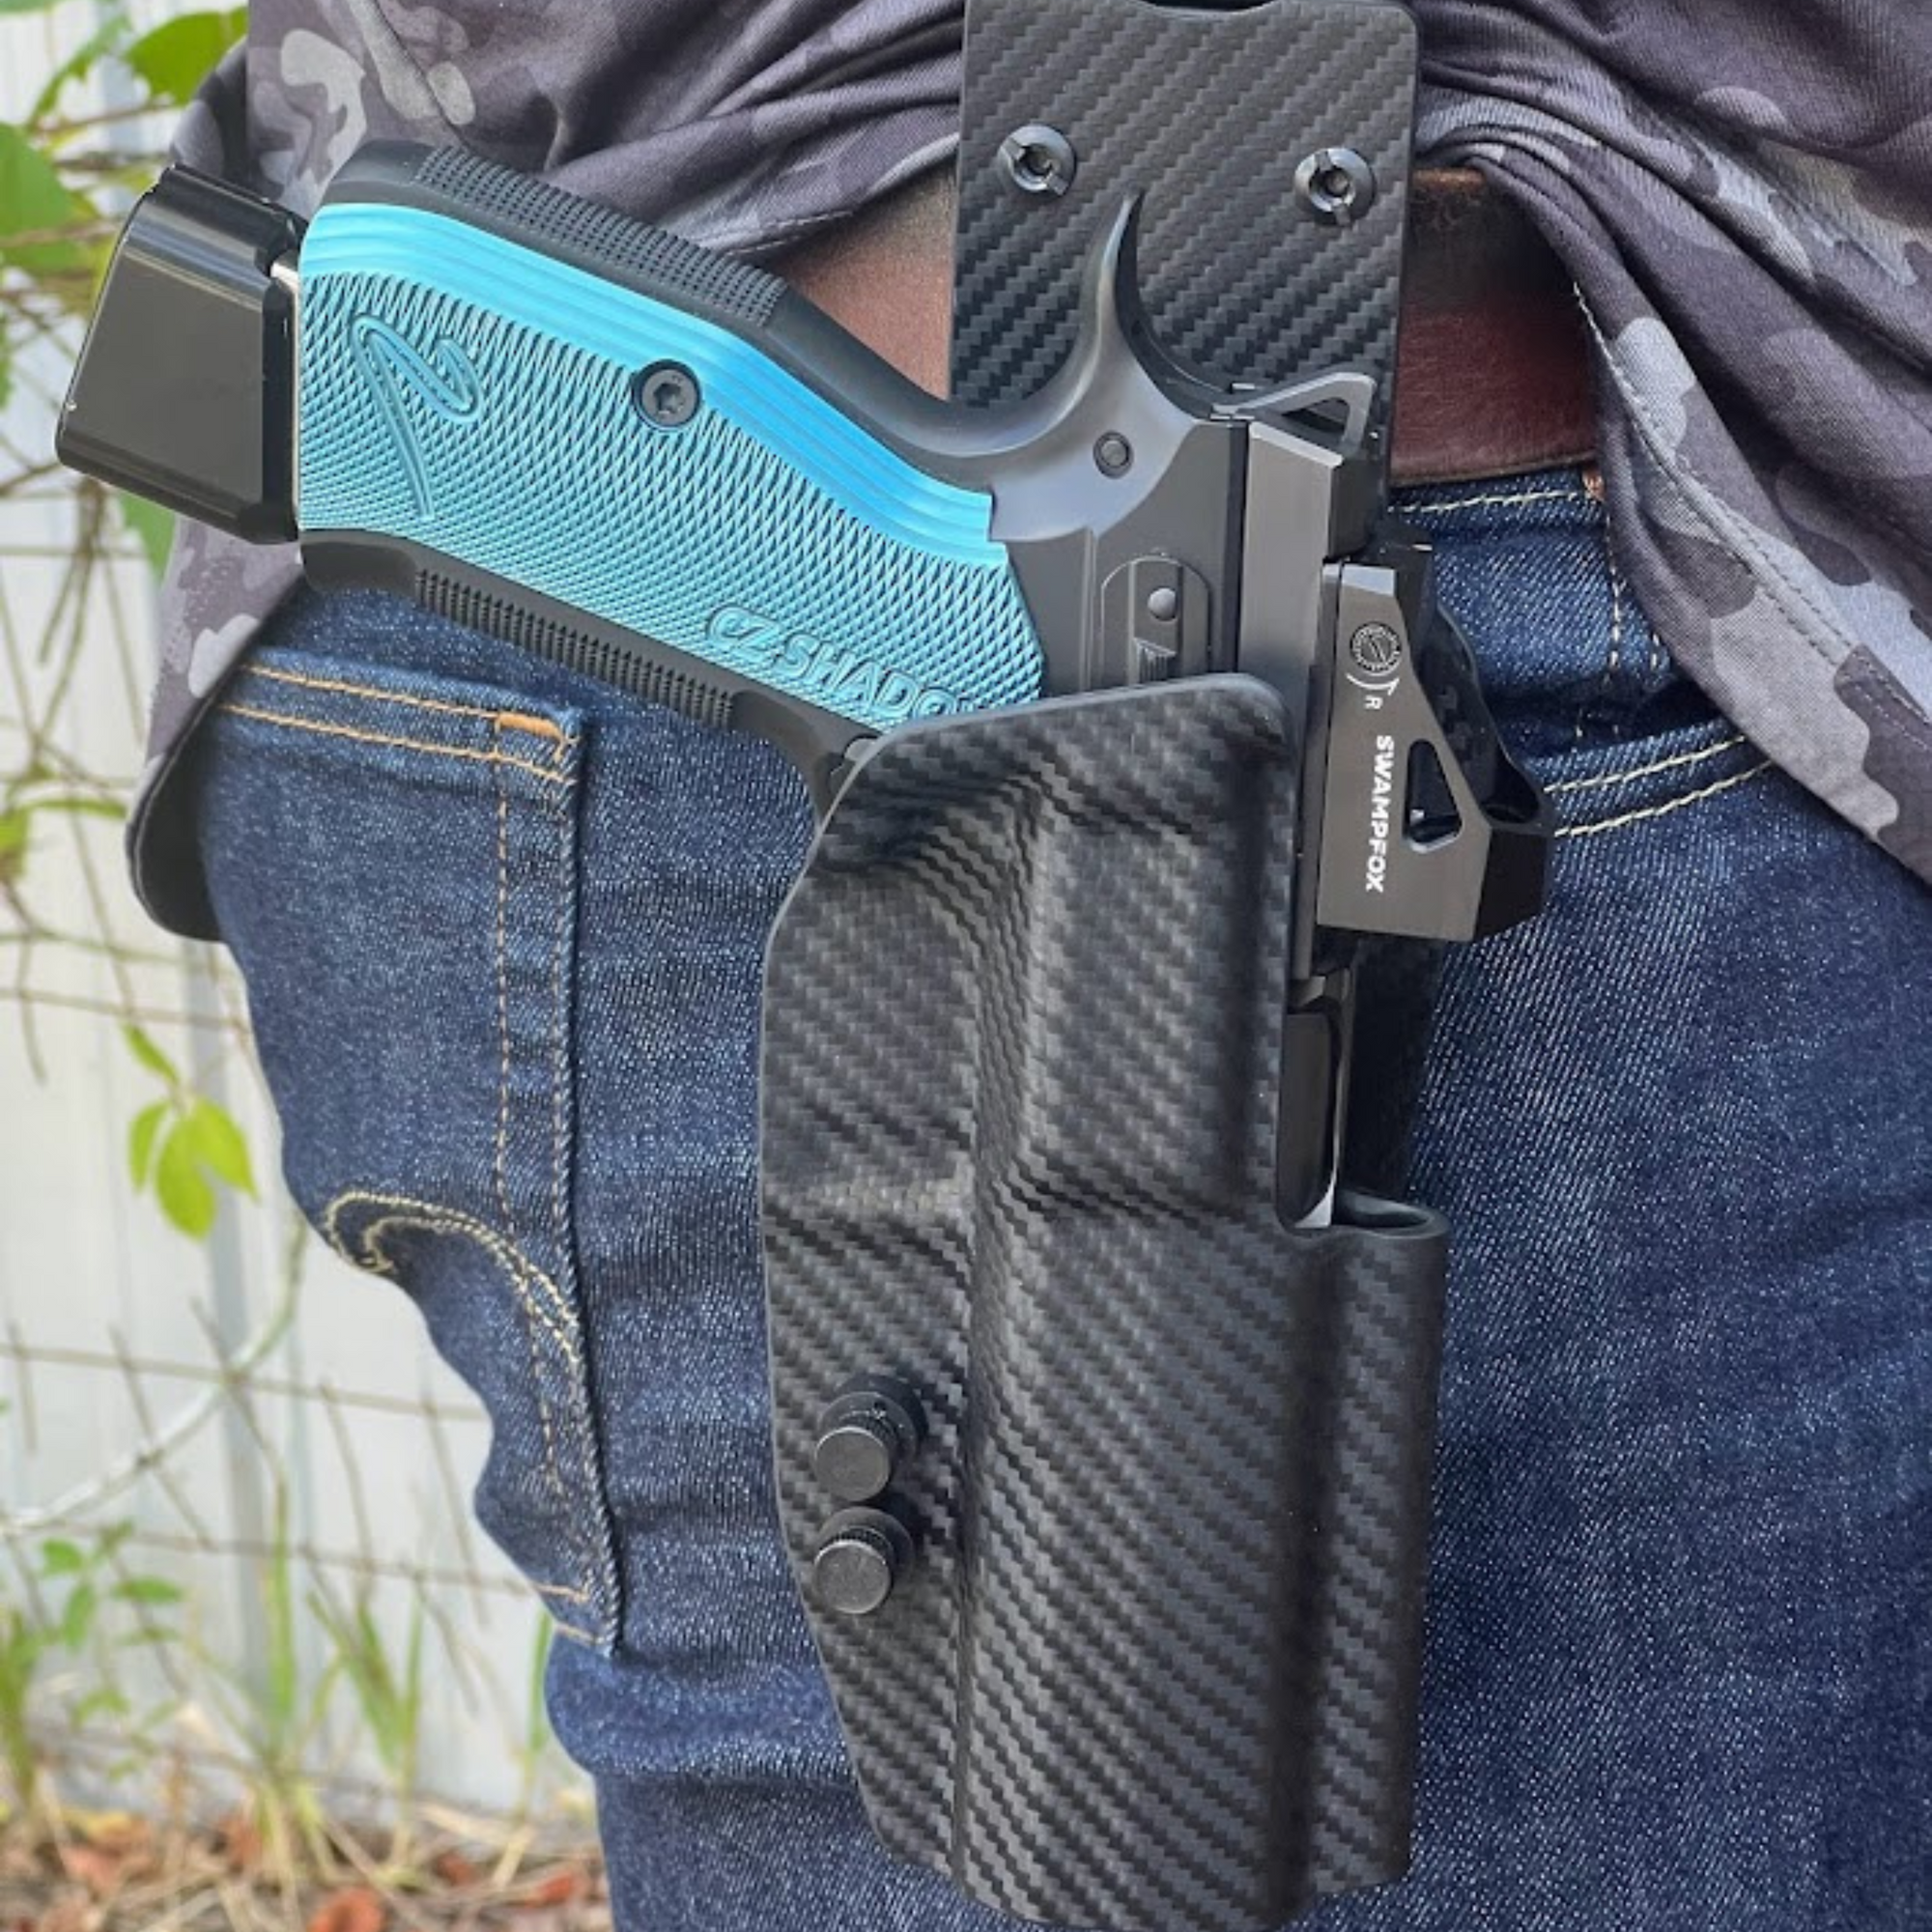
- HOLSTERS for CZ
- HOLSTERS for FN
- HOLSTERS for GLOCK
- HOLSTERS for HECKLER & KOCH
- HOLSTERS for IWI
- HOLSTERS for KAHR
- HOLSTERS for KEL-TEC
- HOLSTERS for KIMBER
- HOLSTERS for RUGER
- HOLSTERS for SCCY
- HOLSTERS for SIG SAUER
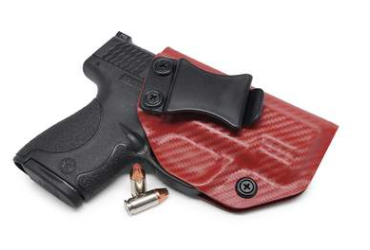
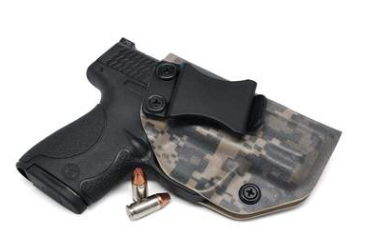
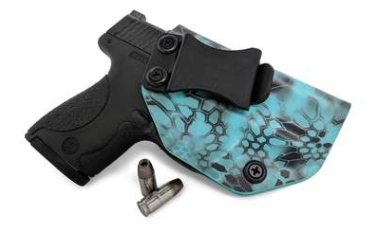
- HOLSTERS for SMITH & WESSON
- HOLSTERS for SPRINGFIELD
- HOLSTERS for STOEGER
- HOLSTERS for TAURUS
- HOLSTERS for WALTHER
- SHOP BY STYLE
- APPAREL
- SALE
- Order Lookup
- FAQs
- Blog
- About
- Contact
- 1 (888) 904-2722
- Dealer Login
- Customer Login